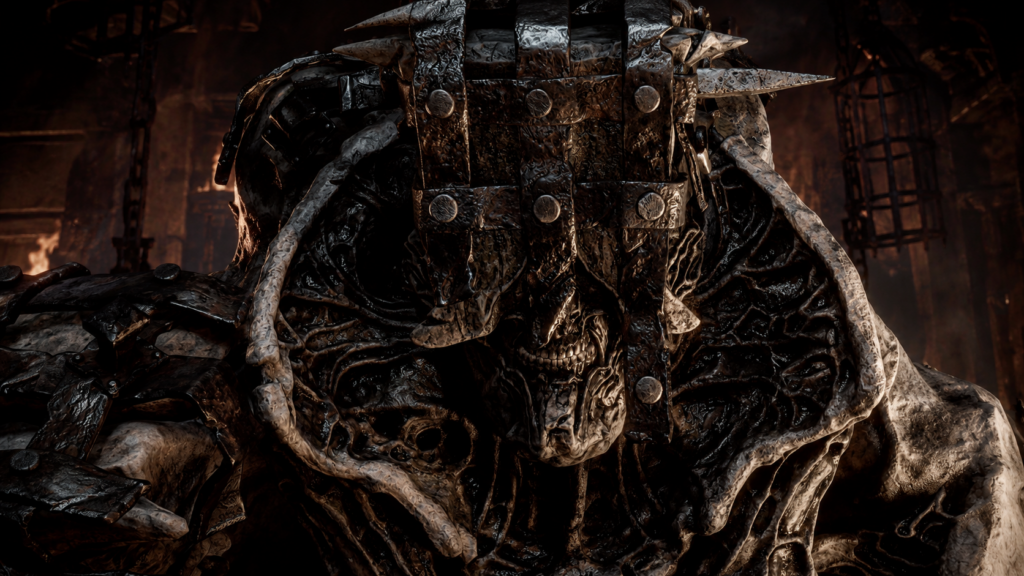
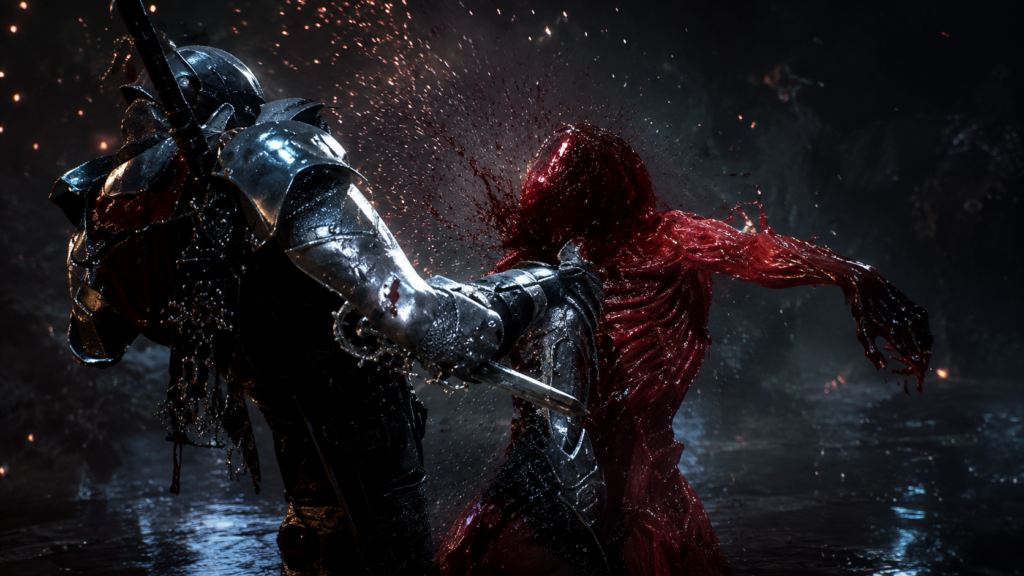
MORTAL SHELL 2 GUIDE

Mortal Shell 2 Bosses Guide:All Major Bosses & How to Beat Them

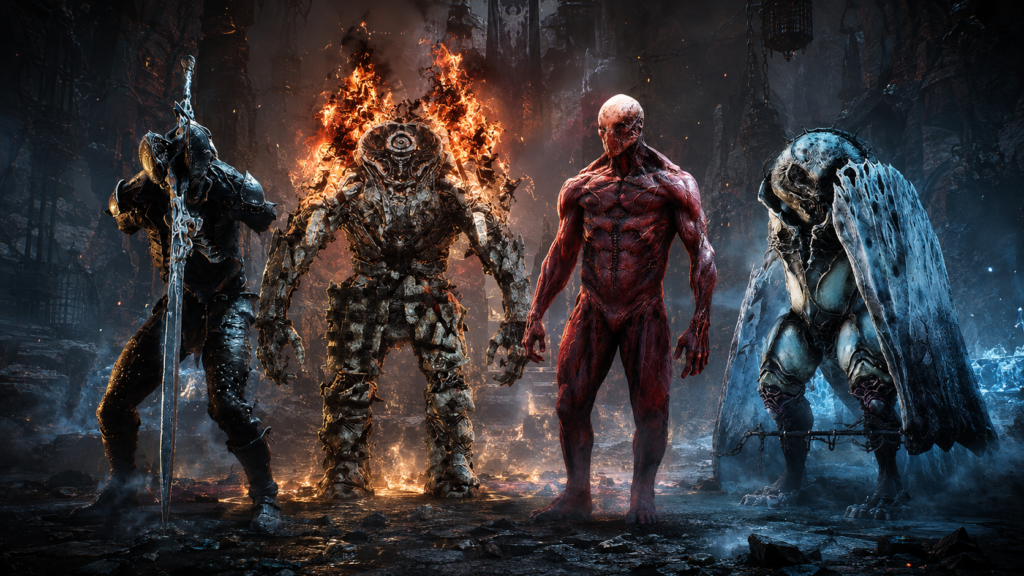
A complete progression-focused guide to Mortal Shell 2’s 10 major bosses, plus Prologue encounters and additional optional or secondary bosses documented in the supplied reference material. Use the sections below for locations, Shell summons, rewards, attack warnings and practical fight strategies.

⚠ Heavy story and boss spoilers ahead
Major Bosses10
Corrupted Gate Bosses6
Unfound Path Guardians3
Final BossZmey
Mortal Shell 2 Bosses Guide:
1
How Mortal Shell 2’s major boss progression works

The main progression is built around six Corrupted Gate dungeons: Glutted Mire, Sanguine Caverns and Prisoners’ Domain in Fainweald, then Conquered Temple, Withered Shoals and Faded Citadel in Mammon.

Defeating a major Corrupted Gate boss causes a Beacon to appear with 26 Ova. Later, the Unfound Path opens and three more bosses guard the tendrils blocking the route to the final encounter.

PROLOGUE

Prologue Boss Encounters

These fights happen before the 10-boss major progression structure begins.

Gloombound Ritualist
PROLOGUE ENCOUNTER

Gloombound Ritualist

Your first boss encounter and an early Perfect Guard test.

Closest BeaconVillage Outskirts Beacon
TypePrologue boss

The Ritualist itself is manageable, but its exploding minions can punish you quickly if you stop moving.

Key attacks to watch

Exploding minion summonsClose-range pressure

How to beat Gloombound Ritualist

  • Move away as soon as summoned minions begin rushing toward you; their explosions are the real danger.
  • Use the pause after a summoning sequence to close the gap and deal melee damage.
  • This is a useful early fight for practicing Perfect Guards and Harros’ Stone Stun, while Naylshotte shots can add safe damage.
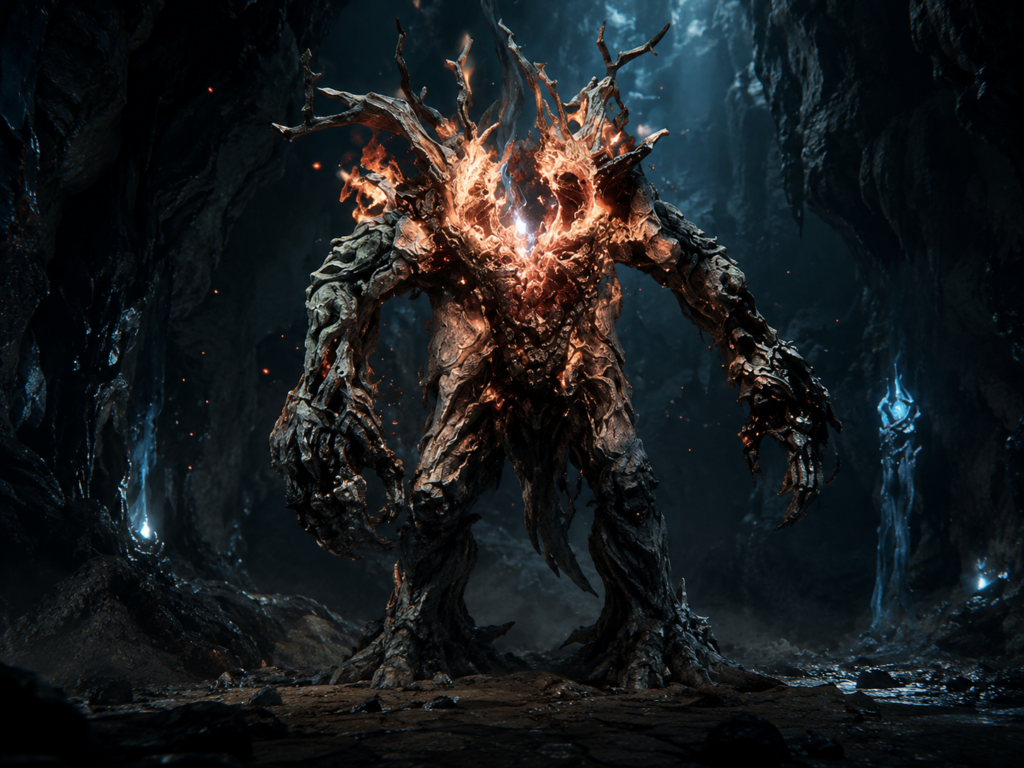
Tainted Vestige
PROLOGUE ENCOUNTER

Tainted Vestige

A heavier early enemy with underground spikes and an unblockable grab.

Closest BeaconDisciple’s Grotto Beacon
TypePrologue boss

The Tainted Vestige is a noticeable step up from the opening boss and rewards patient defensive play.

Key attacks to watch

Underground spikesTelegraphed melee swingsUnblockable grab

How to beat Tainted Vestige

  • Expect two sets of underground spikes after it digs its arms into the ground and be ready to dodge.
  • Its normal melee swings are readable and make good Perfect Guard opportunities.
  • Do not try to guard the grab. Create space and dodge it, then punish the recovery.
Tar Golem
PROLOGUE ENCOUNTER

Tar Golem

A brutal prologue finale whose story outcome is fixed.

Closest BeaconDisciple’s Grotto Beacon
TypePrologue boss

The Tar Golem is beatable, but the story continues through the same cutscene whether you win or lose.

Key attacks to watch

Single-axe swingsDouble-axe attacksJumping strikesKick

How to beat Tar Golem

  • Single-axe attacks and the kick can be guarded, but attacks involving both axes and jumping strikes should be dodged.
  • Circle toward its side and punish when its axes become stuck in the ground.
  • Defeating it is still worthwhile for the achievement, even though it does not change the narrative result.
!
Important

Winning or losing this encounter leads to the same story outcome.

REGION 01 · FAINWEALD

Fainweald Major Bosses

The first three Corrupted Gate bosses in the major progression path.

01
FAINWEALD · GLUTTED MIRE

Magdalena, Lady of the Woods

A mobility-heavy fight built around charges, fire and exploding Tar Babies.

DungeonGlutted Mire
Closest BeaconSunken Village Beacon
Shell summonSmert
RewardMagdalena’s Memento

Magdalena is likely to be one of your first true progression bosses. The fight is more about avoiding her vehicle than trading hits.

Key attacks to watch

Cart RamFire SpinTar Baby summons

How to beat Magdalena, Lady of the Woods

  • Dodge her ramming attacks instead of trying to stand your ground.
  • Stay near her side during fiery rotations and wait for the sequence to finish before committing to melee damage.
  • Her spinning pattern creates a predictable recovery window; use it for a short combo, then disengage.
  • Clear nearby Tar Babies when necessary so their explosions do not force you into Magdalena’s path.
02
FAINWEALD · SANGUINE CAVERNS

The Lost Child

A grotesque large-target boss with dangerous mouth attacks and an unblockable grab.

DungeonSanguine Caverns
Closest BeaconSanguine Shoreline Beacon
Shell summonTiel
RewardLost Clotstone

The Lost Child becomes most dangerous when you stay too close to read its animations properly.

Key attacks to watch

Belching BreathDigest & ExcreteMouth streamsArm swipes

How to beat The Lost Child

  • Keep enough distance to read the boss clearly and move away from streams fired from its mouth.
  • Respect the grab: it is difficult to react to at point-blank range and cannot simply be blocked.
  • Ranged pressure is effective against its large body when you have enough Resolve and ammunition.
  • Use short melee windows rather than long combos so you can still react to its inhale and grab patterns.
!
Important

After cleansing the final Beacon in the dungeon, search the innermost chamber for the Blackmarrow Key.

03
FAINWEALD · PRISONERS’ DOMAIN

The Nameless Captive

A direct melee duel with hard-hitting but learnable multi-hit patterns.

DungeonPrisoners’ Domain
Closest BeaconExecutioner’s Pulpit Beacon
Shell summonEredrim
RewardCaptive’s Scabstone

This is one of the cleanest close-range tests in the game: the damage is high, but the core patterns are readable.

Key attacks to watch

Sword StabViolent SwingMulti-hit melee chains

How to beat The Nameless Captive

  • Memorize the rhythm of its repeated stabs and spinning sequences instead of panic-dodging.
  • Blocking, parrying and well-timed defensive tools are especially effective because most of the pressure comes from melee.
  • Punish only after the full attack chain ends; stepping in early can put you directly into the next hit.
  • Watch for the kick and other exceptions rather than assuming every animation should be defended the same way.
REGION 02 · MAMMON

Mammon Major Bosses

The next three Corrupted Gate bosses push the campaign toward its final dungeon.

04
MAMMON · CONQUERED TEMPLE

Droeg the Conqueror

A giant melee bruiser whose homing frostfire can be deadlier than his club.

DungeonConquered Temple
Closest BeaconOvate’s Chamber Beacon
Shell summonGragu
RewardConqueror’s Reward

Droeg combines huge club swings with a ranged elemental attack that can catch players who rush toward a fake opening.

Key attacks to watch

Bone-club swingsClub slamBlazing Frostfire

How to beat Droeg the Conqueror

  • Staying relatively close can make his large club patterns easier to read and evade.
  • When Droeg appears staggered but a red warning icon flashes, do not rush in; homing Frostfire is about to erupt.
  • Dodge sideways through the melee sequence and take short counter windows rather than overcommitting.
  • Save enough resources for the second half, where his elemental pressure becomes more important.
!
Important

After collecting the Ova, an extreme-cold route beyond the hallway leads to the Frostshard Stone.

05
MAMMON · WITHERED SHOALS

Hexapod

A readable major boss with clear telegraphs and strong punish windows.

DungeonWithered Shoals
AreaRuins of Mammon
Shell summonProxima
RewardHexapod Core

Hexapod is comparatively straightforward once you recognize the animations that expose its head.

Key attacks to watch

Tentacle meleeSquid SurgeBackward jump

How to beat Hexapod

  • When its tentacles spread wide, watch for the exposed head and prepare to punish the long animation.
  • A backward jump followed by the red warning icon signals Squid Surge.
  • Dodge sideways as the charge begins, then attack during the recovery instead of chasing immediately.
06
MAMMON · FADED CITADEL

Isaac, the Scholar Prince

A long-reach melee boss that becomes less predictable after losing his shield.

DungeonFaded Citadel
Shell summonLazlo
RewardScholar’s Wormstone

Isaac can close distance faster than his weapon animations initially suggest, so careless healing or ranged play is risky.

Key attacks to watch

Leaping LungePin CushionDual-rapier pressure

How to beat Isaac, the Scholar Prince

  • Do not assume distance equals safety; Leaping Lunge can close the gap quickly.
  • Avoid committing during Pin Cushion and wait until the repeated downward thrusts finish.
  • At 50% health his shield is removed, but his attacks become more erratic rather than easier.
  • Enter the second half with healing and defensive resources still available.
FINAL DUNGEON

Unfound Path Guardians

Three branches, three guardians and three tendrils stand between you and the final boss.

07
UNFOUND PATH · BRIDGE OF PROCESSION

Orrem, the Discarded Golem / Orrem, the Reclaimed

A full two-phase encounter that transforms from heavy golem pressure into a faster tail-based fight.

LocationBridge of Procession
Shell summonSariel
RewardOrrem’s Head · 5,000 coins
Phases2

Orrem is one of three guardians that block progression through the Unfound Path.

Key attacks to watch

Cascading FireJumping slamTail strikesRanged flame explosions

How to beat Orrem, the Discarded Golem / Orrem, the Reclaimed

  • In phase one, stay clear after the melee combo because Cascading Fire can follow immediately.
  • Keep enough stamina to escape the high jumping slam.
  • After the first health bar, expect much more movement plus tail attacks and flame pressure from range.
  • Treat the first bar as only half the fight and conserve healing accordingly.
08
UNFOUND PATH · OBSIDIAN VAULT

The Monolith

An endurance fight against a huge health pool, crushing jumps and rotating beams.

LocationObsidian Vault
Shell summonNone
RewardMonolith Fragment · 5,000 coins

The Monolith is less about complex combos and more about surviving long enough to avoid repeated heavy area attacks.

Key attacks to watch

Crushing jumpRotating beams

How to beat The Monolith

  • Move away from the landing zone whenever the Monolith rises to crush you.
  • Below roughly half health, expect beam attacks to become the main threat.
  • Run around the boss and time your dodge through the rotating beam instead of trying to absorb the damage.
09
UNFOUND PATH · FAITHFUL’S SHELTER

Malborn Offspring

A two-phase duel with irregular combo timing and lightning-infused pressure.

LocationFaithful’s Shelter
Shell summonNone
RewardOffspring Trophy · 5,000 coins
Phases2

Malborn Offspring is especially dangerous because its long combo chains use changing delays that make timing difficult to memorize.

Key attacks to watch

Cleaving CombosResurrection transitionLightning meleeElectric bolts

How to beat Malborn Offspring

  • Do not dodge the entire combo on a fixed rhythm; the five- or six-hit chains use varied speeds and delays.
  • When the first health bar empties, attack aggressively during the resurrection animation before phase two fully starts.
  • Phase two adds lightning to melee pressure and introduces ranged electric projectiles.
  • A developed Proxima can help with lightning protection, while Genessa’s doubles can create useful distractions.
!
Important

Before the final boss, cleanse the Hidden Nave Beacon to obtain the Endless Core and remove the Tarforge upgrade limit.

THE END

Final Boss: Zmey the Unbidden

The last fight of the major boss progression.

OPTIONAL & SECONDARY

Additional Boss Encounters

Extra encounters documented in the supplied boss reference, with the closest Beacon and a compact strategy.

!
About the secondary-boss list

The supplied secondary-boss reference describes its list as a work in progress. This section therefore presents additional documented encounters rather than claiming to be permanently exhaustive.

Great Arbiter of FleshWidow’s Overlook Beacon
LocationClearing south of Widow’s Overlook

Treat this as a defensive timing test. Watch for the feint that changes attack direction, and never try to tank the unblockable grab. Parries, guards and Harden timings are the core of the fight.

VrannicMushroom Village Gate Beacon
LocationHall of Illusions

Dodge the staff projectile pressure and the unblockable staff strike. When Vrannic creates copies, kill the clones immediately; each is fragile, but leaving them alive floods the arena with projectiles.

Circle of the Grasping RootSleeping Mire Beacon
LocationRootwater Hollow

This is largely a crowd-control fight against a large Frog Mama and poison-throwing cultists. Tiel can benefit from a poison-focused setup, while the Troubadour’s Lute can turn the cultists against one another.

Wandering ShepherdSunken Village Beacon
LocationFenced sheep enclosure beyond the Beacon

Chase and pressure the Shepherd rather than spending too much time on the unusually durable sheep. At half health he transforms and can turn you into a sheep, but you can continue attacking until your normal form returns.

Broodshell SwarmBlackridge Pass Beacon
LocationStones of Remembrance area

Kill the two Leechtongues first because their lunging attack is unblockable. Once they are down, the Bell Snail is much slower and can be handled at close range.

Flooded Village GrishaBlackridge Pass Beacon
LocationFlooded Village Dungeon

Build Break damage with a heavy weapon and force the Grisha into stagger windows. The main move to respect is the unblockable spinning blade-arm thrust after its roar.

LucianStonebled Gate Beacon
LocationHidden Keep

The first phase is readable, but later invisibility makes parries harder. Stay aggressive once you reconnect with him; repeated pressure can keep him visible and prevent another escape.

Tarblighted StonerSanguine Shoreline Beacon
LocationCave reached through the nearby transporter

Use heavy attacks to build Break, but stay clear of the boulder sequence. He can swing the boulder several times before throwing it, and the throws are unblockable.

Bloodcursed LithopodGloomshade Grove Beacon
LocationRocky southern route beyond the Bone Gate

Focus heavy attacks on the rock on its back. The boss is not especially complex, but Bloodcurse can steadily drain health, so avoid unnecessary trades.

Rabid Grisha PackGloomshade Grove Beacon
LocationHolding Cells beneath the Citadel of Penance

Two Grisha in a cramped arena are difficult to manage normally. The Troubadour’s Lute can make them attack each other; let them reduce one another, then finish the survivor.

WardenCitadel of Penance Beacon
LocationLower Citadel dungeon

Most of the Warden’s pressure is difficult to block. The key punish window comes after the fourth hit of his rapid spinning axe sequence. Avoid overcommitting before that sequence ends.

VragoNochtean Gate Beacon
LocationAbandoned Shrine

Vrago relies on unblockable jumping slams. Dodge the landing, interrupt him with heavy pressure when possible, and punish immediately after he comes down.

Gloombound LegionHangman’s Scaffold Beacon
LocationDungeon encounter

This encounter behaves more like a dangerous mob battle than a single boss duel. Prioritize crowd control and remove the most disruptive enemies first instead of tunneling on one target.

Tishina’s ConfessorExecutioner’s Pulpit Beacon
LocationPrisoners’ Domain route

The Confessor’s patterns are clearly telegraphed compared with many later bosses. Stay patient, parry the readable attacks and punish only after the full sequence.

BorAbbey Entrance Beacon
LocationAbbey route

Use heavy attacks and prepare to parry the jumping attack. Extra mobs enter later in the fight; the Troubadour’s Lute can turn that reinforcement wave into an advantage.

Stray SestersSester’s Gate Beacon
LocationSester’s Bastion

Remove the crossbow Sester first. The red Sester can parry and punish careless pressure, and another Black Needle wielder joins after the first pair falls.

Sester SecundusSester’s Gate Beacon
LocationSecret Revenant Graves encounter

Avoid her lightning blasts and use aggressive heavy combinations to stagger her. Her reach is long, but sustained pressure can prevent her from controlling the arena.

Caged GrishaWinterglass Lake Beacon
LocationValley of the Revered

Apply the same fundamentals used against other Grisha: avoid the unblockable arm-blade thrust, corner the boss when possible and chain repeated hits to knock it down.

UrrigWinterglass Lake Beacon
LocationArena reached across the frozen-lake route

Urrig telegraphs his hammer swings clearly but can chain multiple unblockable rotations. Dodge around the full sequence, then use a fast weapon to punish the recovery.

BEFORE YOU ENTER

Boss Preparation Tips

A few progression rules make the major encounters much more manageable.

01Explore before committing to every Corrupted Gate

Much of Fainweald and Mammon can be explored for better gear, perks and upgrade materials before you tackle every dungeon boss.

02Use Shell summons when the encounter allows it

Several major fights support a spectral Shell ally. Unlocking the summon costs a Glimpse, but the distraction can create valuable openings.

03Respect the red warning icon

Major bosses such as Droeg and Hexapod use a red warning cue before particularly dangerous attacks. Treat it as a signal to reposition.

04Keep your punish windows short

Many bosses are designed to catch long, greedy combos. Land a controlled punish, then recover enough stamina to defend the next sequence.

Mortal Shell 2 Boss FAQ

How many major bosses are in Mortal Shell 2?

There are 10 major progression bosses in the supplied major-boss reference: six Corrupted Gate bosses, three Unfound Path guardians and the final boss, Zmey the Unbidden.

Who is the final boss in Mortal Shell 2?

Zmey the Unbidden is the final boss at the end of the Unfound Path.

What do Corrupted Gate bosses give you?

Defeating a major Corrupted Gate boss causes a Beacon to appear with 26 Ova, which are required for campaign progression.

Do you have to beat the Tar Golem in the Prologue?

No. The story outcome is the same whether you defeat the Tar Golem or lose, although depleting its health bar can still reward an achievement.

Can you keep playing after defeating Zmey?

Yes. You can continue exploring the current save as long as you do not choose “Send Ova” at the siphoning machine in Marrow Keep, which leads toward New Game Plus.

TITANCARRY GUIDE COMPLETE

Ready for the next challenge?

Use the guide navigation above to jump directly to any major encounter, or continue exploring TitanCarry for more Mortal Shell 2 guides as they are published.